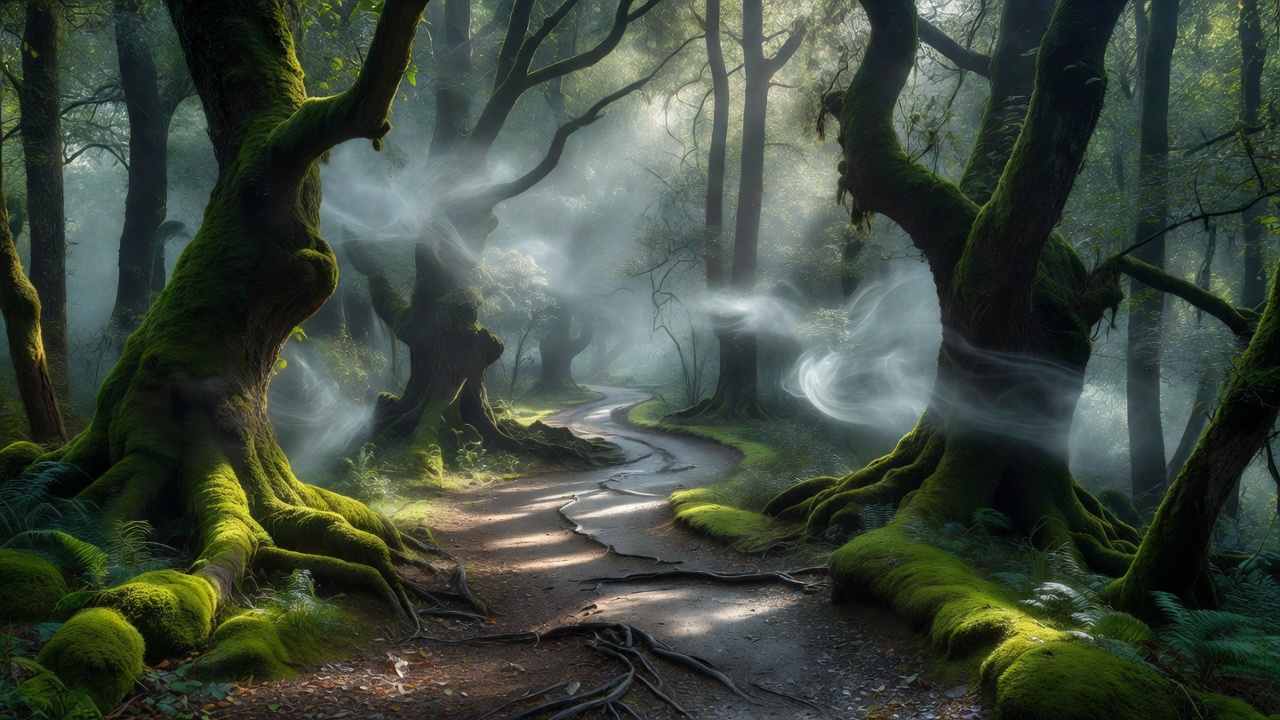
Why woodland locations fail most often
The common failure mode is not “wrong camera settings.” It is subject hierarchy. Leaves, trunks, branches and undergrowth occupy similar tones and scales, so the eye cannot decide what matters. Trails help because they introduce a human-scale line and a tone break—especially when mud, stone or leaf litter differs from surrounding flora. If a path is faint or buried in the same colour family as the floor, you have lost your simplest organising tool.
Dense summer canopy can also crush contrast. Midday overhead sun then punches small specular spots through leaves while the forest floor sits in low, murky midtones. That mix is difficult to print cleanly. Overcast days, light rain and shallow fog often provide more even modelling of bark and path edges. Bright shafts can work, but they need a clear receiving surface and a composition that treats light as the subject rather than an accident.
Reading stand structure and path design
Not every forest segment is a location. Look for variation in trunk spacing, a change in understorey height, or a bend that reveals a second plane of trees. Managed woodland with deliberate rides and edges can photograph more clearly than romantic thickets. Mixed-age stands create vertical rhythm; uniform plantations can succeed as pattern studies but rarely as path-led depth scenes unless fog separates rows.
Walk the trail both directions. One direction may open a pale vanishing path; the opposite may face a dark wall of foliage. Note slope: slight downhill paths often feel inviting and keep sky or bright canopy from dominating the top of the frame too early. Boardwalks, bridges and drainage ditches act as graphic anchors—use them when they are part of legitimate public access, and avoid leaving the path where undergrowth is protected or fragile.
Fog, humidity and seasonal behaviour
Shallow radiation fog after cool nights is one of the kinder woodland conditions because it reduces background busyness and builds aerial perspective between trunks. It rarely lasts long once sunlight strengthens, so scout the day before when possible and arrive earlier than feels comfortable. In humid still air after rain, bark saturation deepens and path colour strengthens—excellent for quieter colour work without needing dramatic weather theatre.
Autumn litter can solve tone separation; spring growth can erase it. Winter broadleaf woods offer branch architecture and longer sightlines. Evergreen blocks stay graphic year-round but can feel heavy if you cannot find a lighter path surface or a break of deciduous trunks. Seasonal planning is less about peak colour calendars and more about whether the forest currently offers planes you can count.
Lenses, height and motion choices
Moderate focal lengths keep path width honest. Ultra-wide lenses near a trail can invent false grandeur while turning background trunks into cluttered spokes. Standard and short-telephoto options help isolate a trunk group or compress a curve. A slightly lower tripod height can emphasise path lead without the “heroic ant” look, provided you still keep the vanishing line readable and avoid filling the frame with undifferentiated leaf mould.
Handheld work suits shifting shafts of light; tripods suit fog and low canopy levels where shutter times lengthen. If people walk through, decide whether human scale helps. A single distant walker can clarify size; a busy recreational trail may force you toward quieter side loops or weekday timing. Do not block narrow paths with kit bags—woodland locations are shared infrastructure.
Exposure discipline in green environments
Matrix metering often lifts dim floors and leaves foliage lifeless, or it protects bright canopy holes and muddies the path. Expose for the tonal range you want to hold: typically the path and primary trunks. Accept that deep understorey may go dark. Colour can drift toward heavy green casts under canopy; a thoughtful white balance—and restraint in saturation—keeps moss and leaf tones plausible. When contrast is extreme, multiple carefully aligned exposures can help, but many woodland scenes benefit more from waiting for softer light than from aggressive blending.
Pros, cons and selection criteria
Pros: shelter from wind compared with coasts and ridges; strong seasonal variety; intimate scale that rewards local repeat visits; excellent conditions for quiet, structured work in fog and overcast.
Cons: hierarchy problems in dense greenery; tick and moisture logistics; footpath congestion; limited sky drama; muddy access that complicates kit and footwear.
Choose woodland when your goal is depth through layers, texture and path geometry. Choose open landscapes when you need sky as a primary actor. Choose urban overlooks when you need hard edges and night luminance. Within woodland, prefer trails that present a clear tone break, a bend, and at least two distinguishable tree planes before you unpack filters or experiment with long exposure on moving leaves.
Field routine that reduces wasted frames
On arrival, walk ten quiet minutes without photographing. Count planes, mark three candidate stops, and note where sky holes will blow out. Shoot a quick reference frame for later orientation, then commit to one compositional idea per stop—path as lead, trunk as pillar, or fog as veil—rather than rotating through every lens you carry. Finish with a wider “context” frame for your own location notes so repeat visits get smarter.
Mediamiclipcottag treats woodland as a craft of separation: separation of planes, of tones, and of intentions. When those separations are absent, the honest decision is to keep walking.